Trending

6 rules to cut your own hair and… don’t be afraid to look at yourself in the mirror

|
|
It takes approx. 4 minutes to read this article

A good plan, a razor and slow, precise movements from the bottom to the top of the hair – with these elements, a men’s haircut at home should not be too much trouble.

The year 2020 has re-evaluated our lives, our daily routine and our approach to many things, including fashion and beauty. Although for a long time hair salons were closed by a pandemic, our hair has not stopped growing at all.

While there are no problems with long hair, as it can grow longer and does not affect the overall style, a typical men’s haircut with short hair is a whole different story and requires regular trimming. In that case, you have to take matters into your own hands – literally. Some people simply prefer it that way and don’t want to leave their hair in the hands of others or don’t have time to visit the hairdresser.

Here are some tips, which will help any man to cut his own hair. Despite appearances, it is not such a difficult and unmanageable art. What do you need to know?

A bright, well-mirrored and secured hairdressing station

If you have already decided to shorten your hair at home, then you need to prepare a stand. Most people choose the bathroom for this purpose. But make sure you have enough light and mirrors so that you can see every hair on your head clearly.

It is also worth securing the floor with trash bags. Then you will have less cleaning to do and you will be less likely to spread the little hairs around the house. It is also good to protect yourself and your clothes. Here, a dedicated protective cloak or an ordinary towel will come in handy.

These tools and accessories are the bare minimum

Other essentials include a fine-toothed comb to comb out the cut ends and an atomizer-sprayer with clean water to spray individual sections of hair.

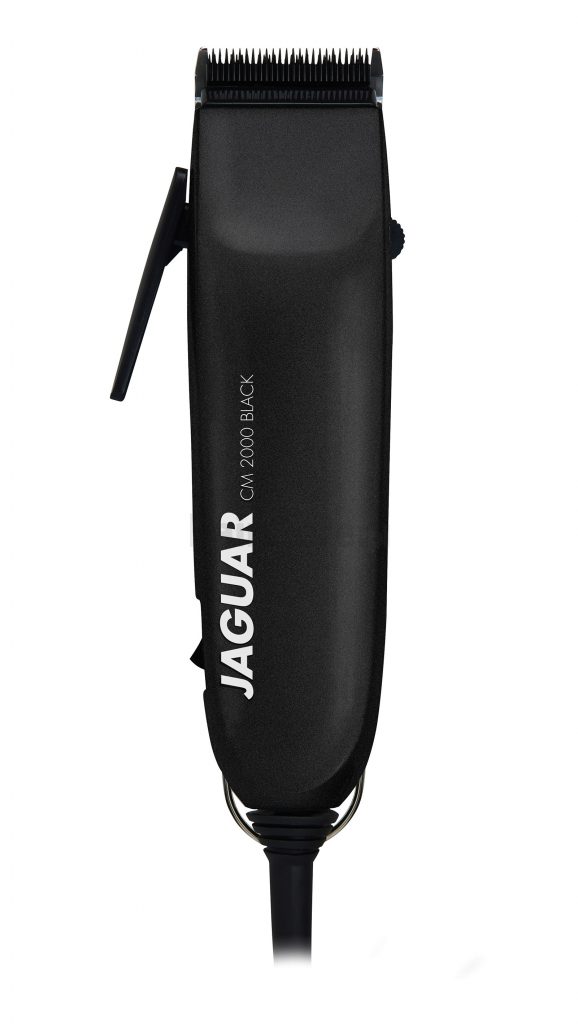
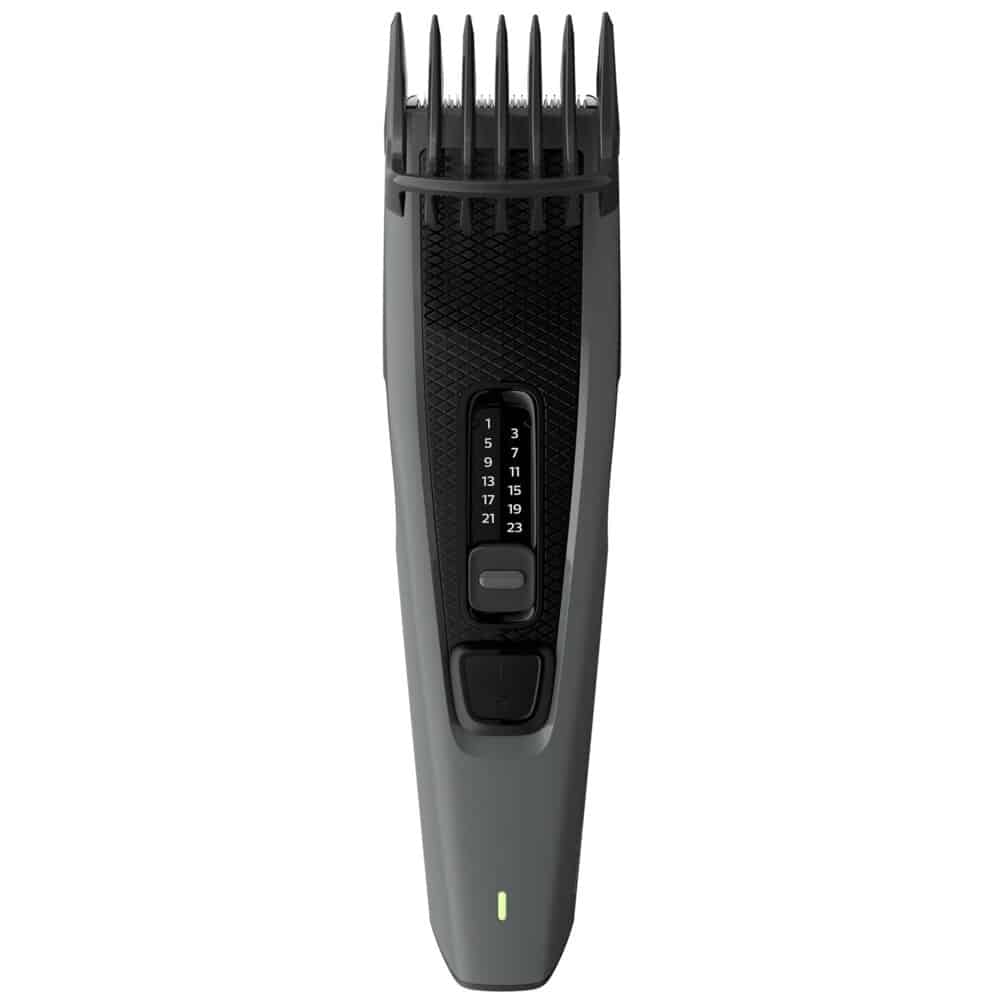
Then there is the key tool, the hair clipper. It would be best if it was from a reputable company, decent and with the right attachments. Remember that if this is your first time cutting hair or if you don’t have any experience, it is best to set the parameters slightly higher. You can always shorten hair that’s too long, but unfortunately it doesn’t work the other way around.

When it comes to scissors, they are not part of the standard household equipment. In this case, you’ll need hairdressing scissors that are sharp and won’t hurt the ends – and not many of us have those. But it’s good to have someone nearby to help or at least take a look to make sure you’re going in the right direction.

How to cut your own hair step by step?

Put the sprinkler to work

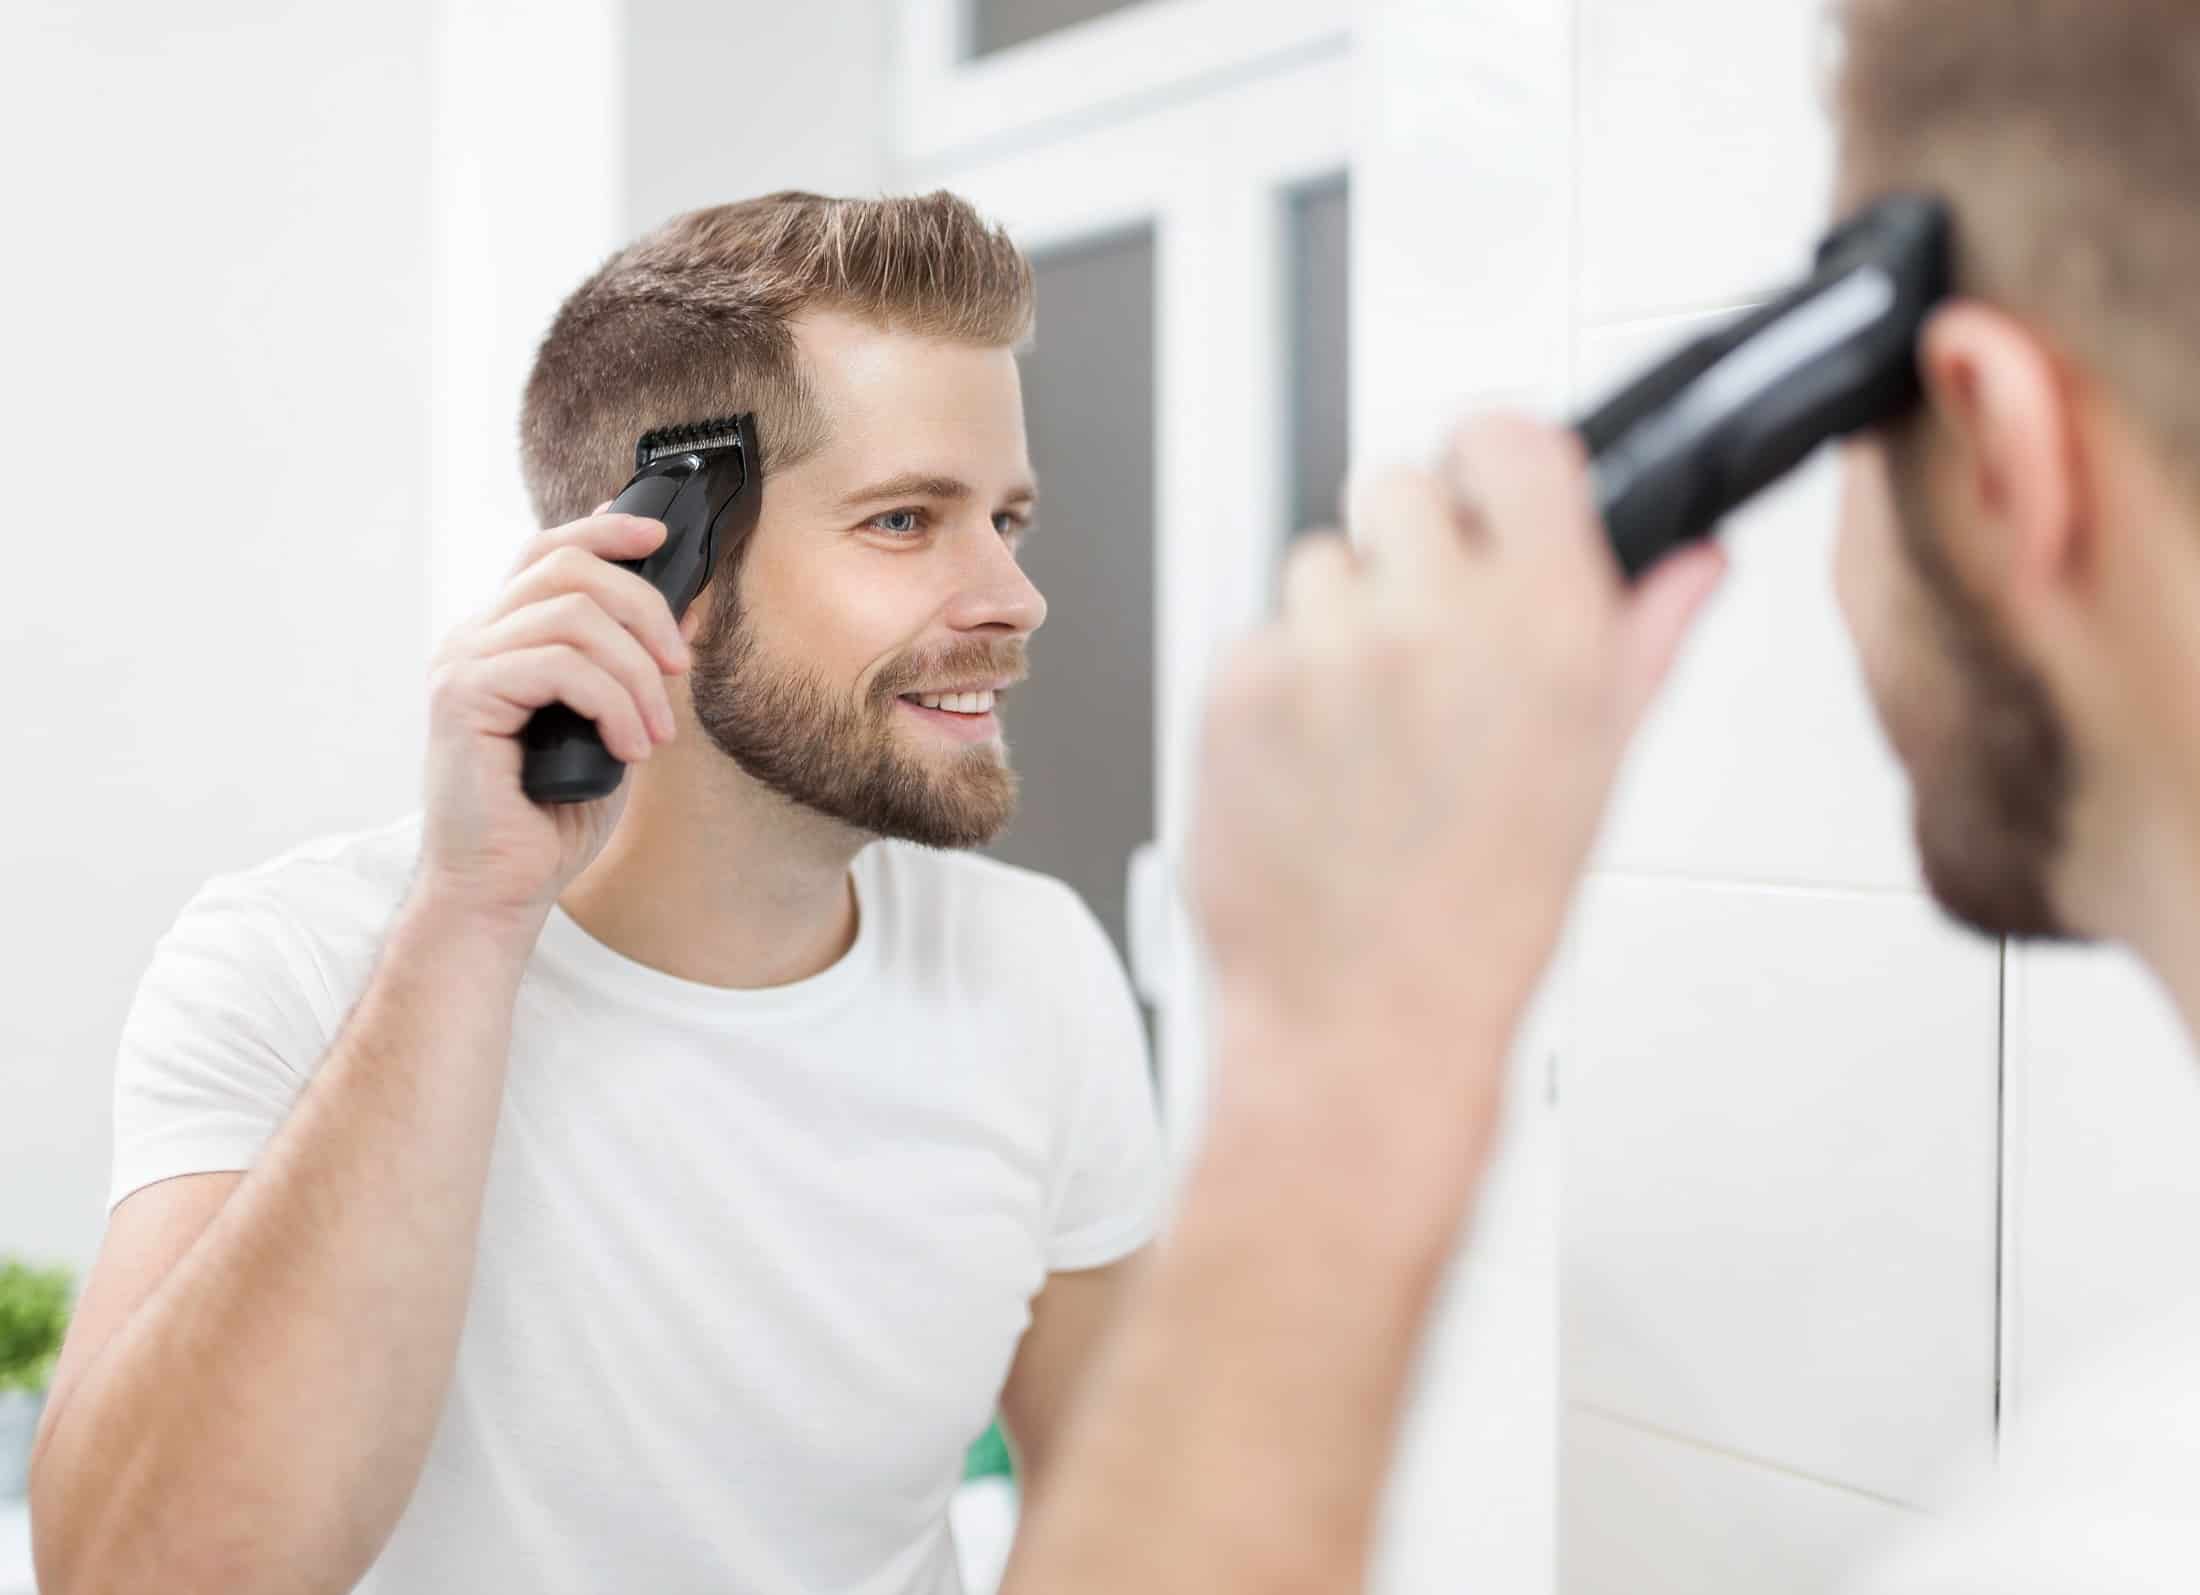
Now that we have everything ready, it’s time to tackle this haircut. First of all, it is much easier to cut the hair when it is slightly damp, so you have to take care of it all the time. To do this we use the aforementioned sprinkler. This is important because trimming dry ends requires much more precision.

First the nape of the neck, then the top

Start trimming from the nape of the neck and gradually work your way up. Do not make quick or chaotic movements but rather smooth and precise ones. Also, move the razor in all directions so that you remove all chosen strands – and always against the grain.

Layered strands will look much better – longer at the top and shorter at the sides and back. Once you’ve taken care of the back, move on to the sides, leaving the top of the head for last.

See the mirror..

To cut men’s hair at home you don’t need at least two mirrors, so you can see the back of your head clearly. Otherwise, it will be difficult to control the situation and the results of your own shortening. We emphasize once again, the whole head should be well lit.

Finally, the sideburns and the trim

Now that the hair has been properly trimmed, the only finishing touches are the trimming of the sideburns (with the same razor or a special beard trimmer) and the trimming of all the edges from nape of the neck to the sides, this time in the direction of hair growth.

As with any other activity, remember that practice makes perfect. The first attempt may not always be 100 percent satisfactory, but each subsequent attempt will get better and better.

Read also: CAN YOU PROTECT YOURSELF FROM BALDNESS?

Main Photo: and.one/ aobestock.com

Add comment

Your email address will not be published. Required fields are marked *

*

five × 3 =

Latest articles
Recommended articles
Exploring the Future of Architecture with Photorealistic 3D Models
|
Exploring the Future of Architecture with Photorealistic 3D Models
Dive into the realm of architectural evolution with photorealistic 3D models, a frontier that reshapes our anticipation for future constructions. Discover how the blend of technology and creativity shapes breathtakingly accurate models.
Tooth extraction – when necessary and should you be afraid?
|
Tooth extraction – when necessary and should you be afraid?
Having a tooth extracted seems like a scary thing. See when it's necessary and whether it's something to be afraid of.
How to care for white shirts?
|
How to care for white shirts?
Every man has his favorite white shirt in his closet. However, not everyone knows how to take care of it. Collar, cuffs, sleeves, button fastenings - shirts have a complex cut full of many nooks and crannies that can easily get dirty or damaged. If you're tired of deodorant stains, folds, and other signs of premature wear and tear on this garment, read this article. Here's how to take care of your white shirts. Buy quality shirts First of all, remember that you should always, or at least often, put quality over quantity. A 65% polyester and 35% cotton shirt made in Bangladesh for £50 will not last you for years, even if you try to look after it. Although the price is not a guarantee of quality, it is worth paying attention to the material. Look closely at what the shirt is made of, how it is finished and make a checklist of points to check. When all of these points are "ticked off," you will know that a particular shirt will last with you for at least a few years Don't always wear the same shirt A practical rule of thumb for keeping clothing in good condition is to avoid over-wearing it. Just like with a pair of nice shoes, don't put on the same white shirt several times a week! The more times you put it on, the sooner you'll have to say goodbye to it Choose the right wash program The washing machine is a good friend to men, but it can quickly become your clothes' worst nightmare. For white shirts, try to follow the directions on the label. If you're not sure how to wash your shirt, don't go above 40° and don't wash it by hand. Also take care of the washing cycle, do not overload the machine and pay attention to the colors of the clothes you put into it. Wash white shirts only with other white clothes and use a special white washing powder. If necessary, use a stain remover before washing Avoid the dryer, just use a good hanger Once your shirt is clean, take it out of the washing machine as quickly as possible so that it doesn't wrinkle too much and absorb the unpleasant smell caused by moisture. Even if you have the option of putting it in the dryer, don't. Your best bet is to lay the shirt out on a fairly large wooden rack and stretch its sleeves well to keep them from creasing. This will make ironing easier later Make sure the shirt is clean before ironing Before ironing, take a close look at your shirt to verify that it is clean. If there is still a little dirt on it, wash it again and then let it dry. Stubborn stains can come from laundry detergent if you poured too much of it into the washing machine. Hang up your shirt properly If your shirt is clean and ironed, it's time to put it in the closet. After ironing, wait for the fabric of the shirt to cool down. Avoid metal hangers that can distort the sleeves. The hanger should be made of wood or plastic with fairly wide edges and, if possible, rounded on the sides Make sure your deodorant has dried before you put on your shirt Deodorants in beads or sprays provide an "anti-yellow stain" effect. However, yellowish underarm stains can still appear on your white shirt. To solve this problem, remember to wait for the deodorant to dry before you put on your shirt. Wet deodorant should not come in direct contact with the fabric